
 Suomi
SuomiFarlite
GHT Gear List: Tilman Pass (5300m)

Nov
Lightweight Gear for a High Altitude Trek in Nepal
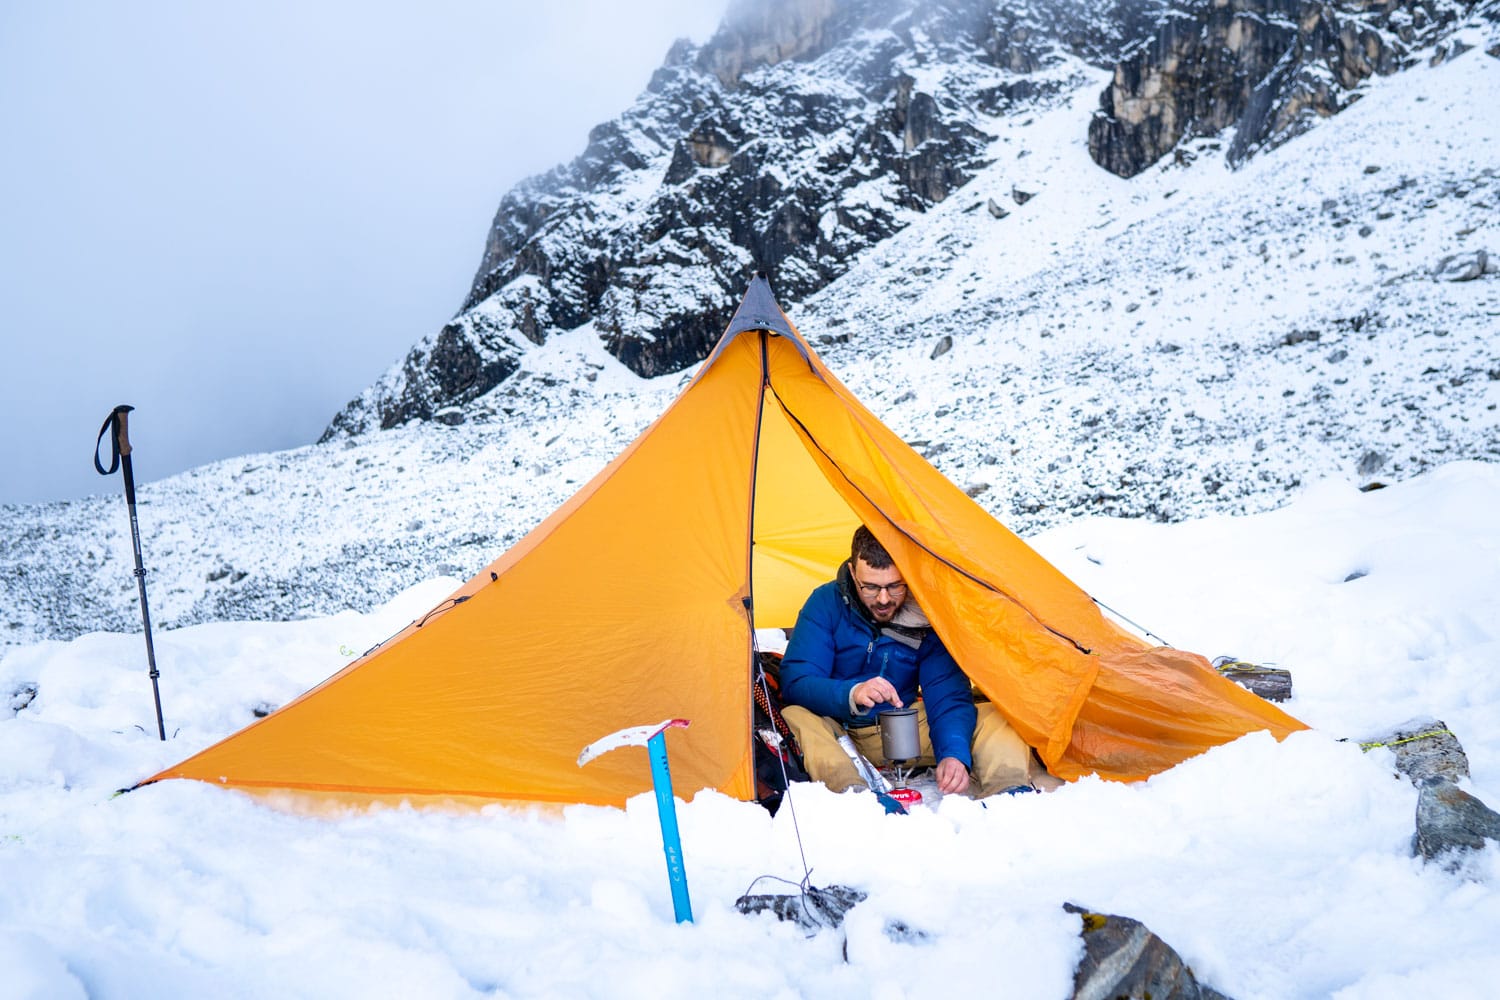
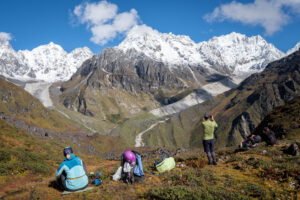
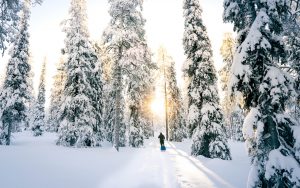
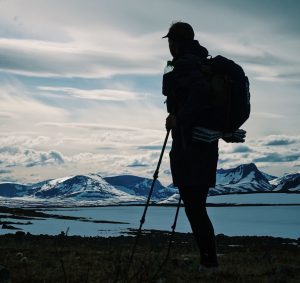
In late September-October 2023, we hiked a section of the Great Himalaya Trail from Last Resort to Tilman Pass (5300 m), ending in Syabrubesi. This section is one of the most challenging on the GHT, possibly second only to the Sherpani Col – West Col – Amphu Labsta section.
Tilman Pass is a mountain pass before Langtang Valley, and it’s crossed only a few times a year. It’s not part of any other routes due to its difficulty, and it’s not a typical tourist trail.
On treks like this in the mountains, you usually carry a lot more gear than on regular ultralight hikes. The main reason is that the conditions vary drastically: it’s sweltering hot in the jungle down below, and freezing cold on the glacier up high. Additionally, you need climbing gear. You also spend enough time in Nepali teahouses that some comfy camp shoes and clothes are a blessing.
 We had one porter for five people, who carried a few kilos of gear per person. The porter also carried a rope.
The complete gear list for the trek can be seen here.
Clothes for Jungle and Glacier
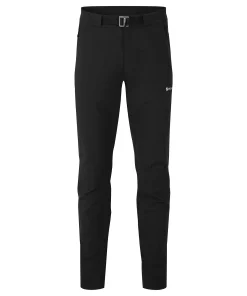
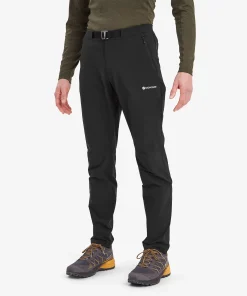
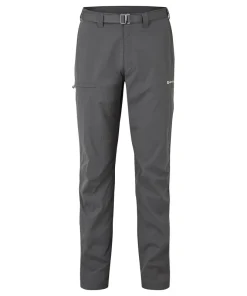
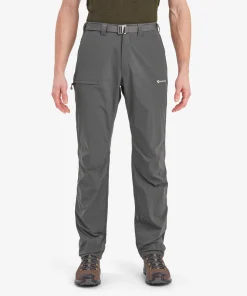
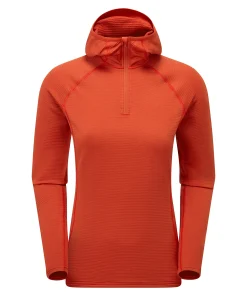
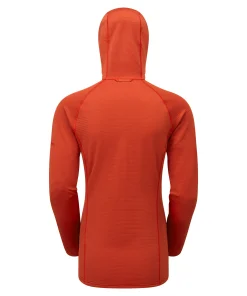
The primary clothing layers for the trek were the Rab Pulse synthetic shirt and Montane Dynamic Lite Stretch pants. Rab’s synthetic shirt with a loose hood worked well, and for most of the trek, we didn’t need additional layers. A merino shirt with a loose hood would have been even better, but this one didn’t start smelling too bad either.
I was initially worried that the pants would be too hot down in the valley, but they turned out to be a surprisingly good choice. The pants could be rolled up in the heat, and they weren’t too sweaty in general. We needed durable pants because there were some tumbles in the rocky terrain. I also considered Terra Lite pants beforehand, which might be a good choice for a trek in Nepal as well. On the Tilman Pass crossing, I also wore thin long underwear.
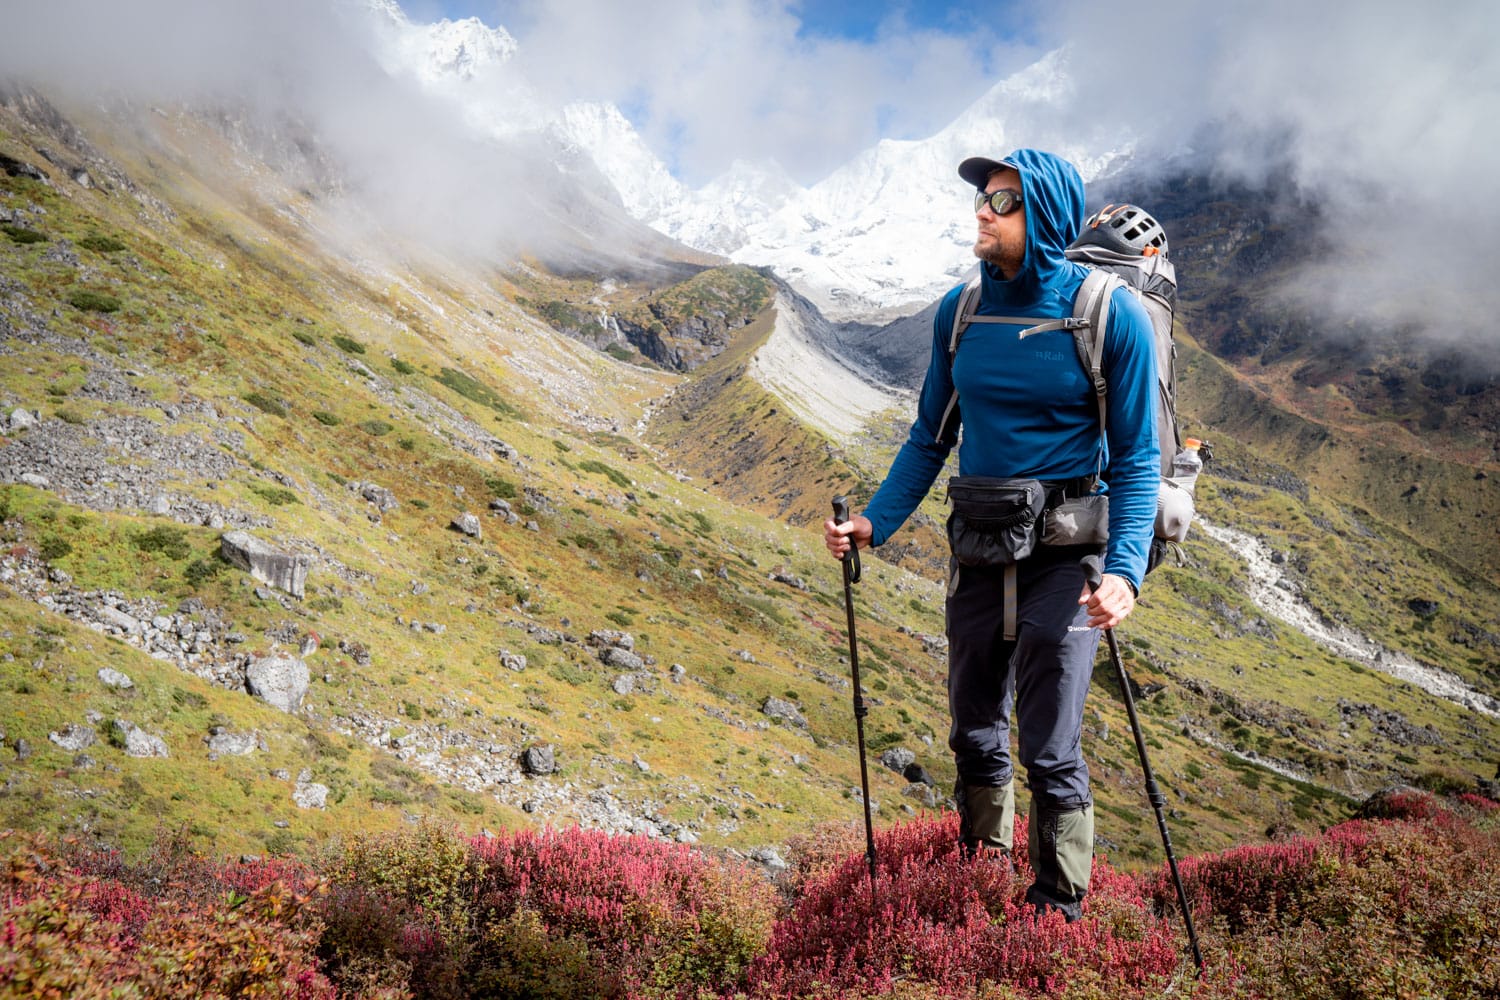
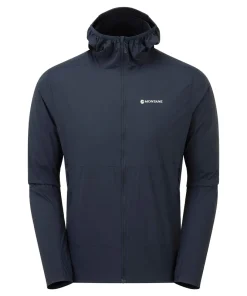
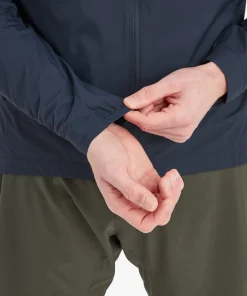
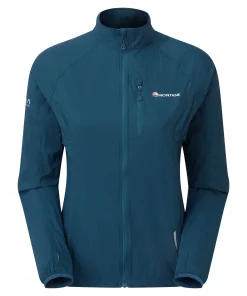
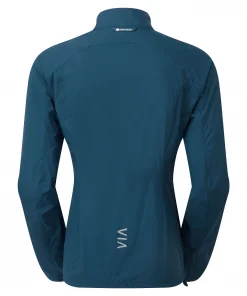
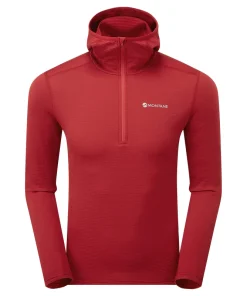
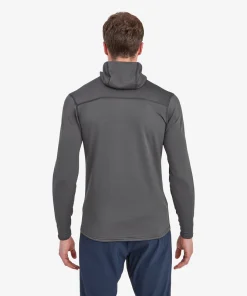
Additional layers included the Montane Protium Lite fleece and the Featherlite Hooded Jacket windbreaker. These were crucial at higher altitudes, but lower down, the wind was surprisingly mild, so we saved the extra layers for camp use.
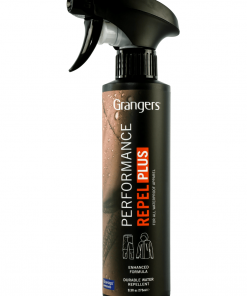
As a shell jacket, I had the La Sportiva Run Jacket, which had been sitting in the closet for several years, so I decided to use it now. The jacket was a bit disappointing as the DWR washed away in the rain right away, and pretty soon, the whole jacket was wet. I plan to reapply the DWR with Granger’s DWR spray. A high-quality shell jacket is very important if there’s a risk of extended monsoon (early October in Nepal) or heavy rain.
For rain gloves, I used the Northern Lite rain mittens, which are the best shell mittens I’ve tested so far. Even these got wet in heavy rain, but it took much longer than with shell gloves made of fabric.
For down insulation, I had the lightweight Rab Pulsar down jacket, along with Cumulus Basic down pants. It’s a good idea to choose a down jacket thicker than a lightweight puffer for a high-altitude trek like this.
Footwear: A Compromise Between Lightness, Warmth, and Crampon Compatibility
I used Salomon X Ultra Mid GTX hiking boots as my footwear. These boots were a compromise between taking trail running shoes and mountaineering boots. The choice worked well, and the boots remained sufficiently warm even when wet during the Tilman Pass crossing. Additionally, the boots had a stiff enough sole to attach crampons. I spent a long time adjusting crampons at home because having crampons come off in a bad spot can be terrifying, and fortunately, they worked great.
 Despite being Gore-Tex, the boots eventually got wet, but I luckily anticipated this. I had extra dry socks that I put on for the pass crossing while keeping my feet dry with plastic bags inside the wet boots.
The rest of the group also opted for lightweight Gore-Tex hiking boots. During the trek, I also tested Rab’s Trek gaiters, but I didn’t see them as necessary if there isn’t a lot of snow.
Light and Protective Shelter
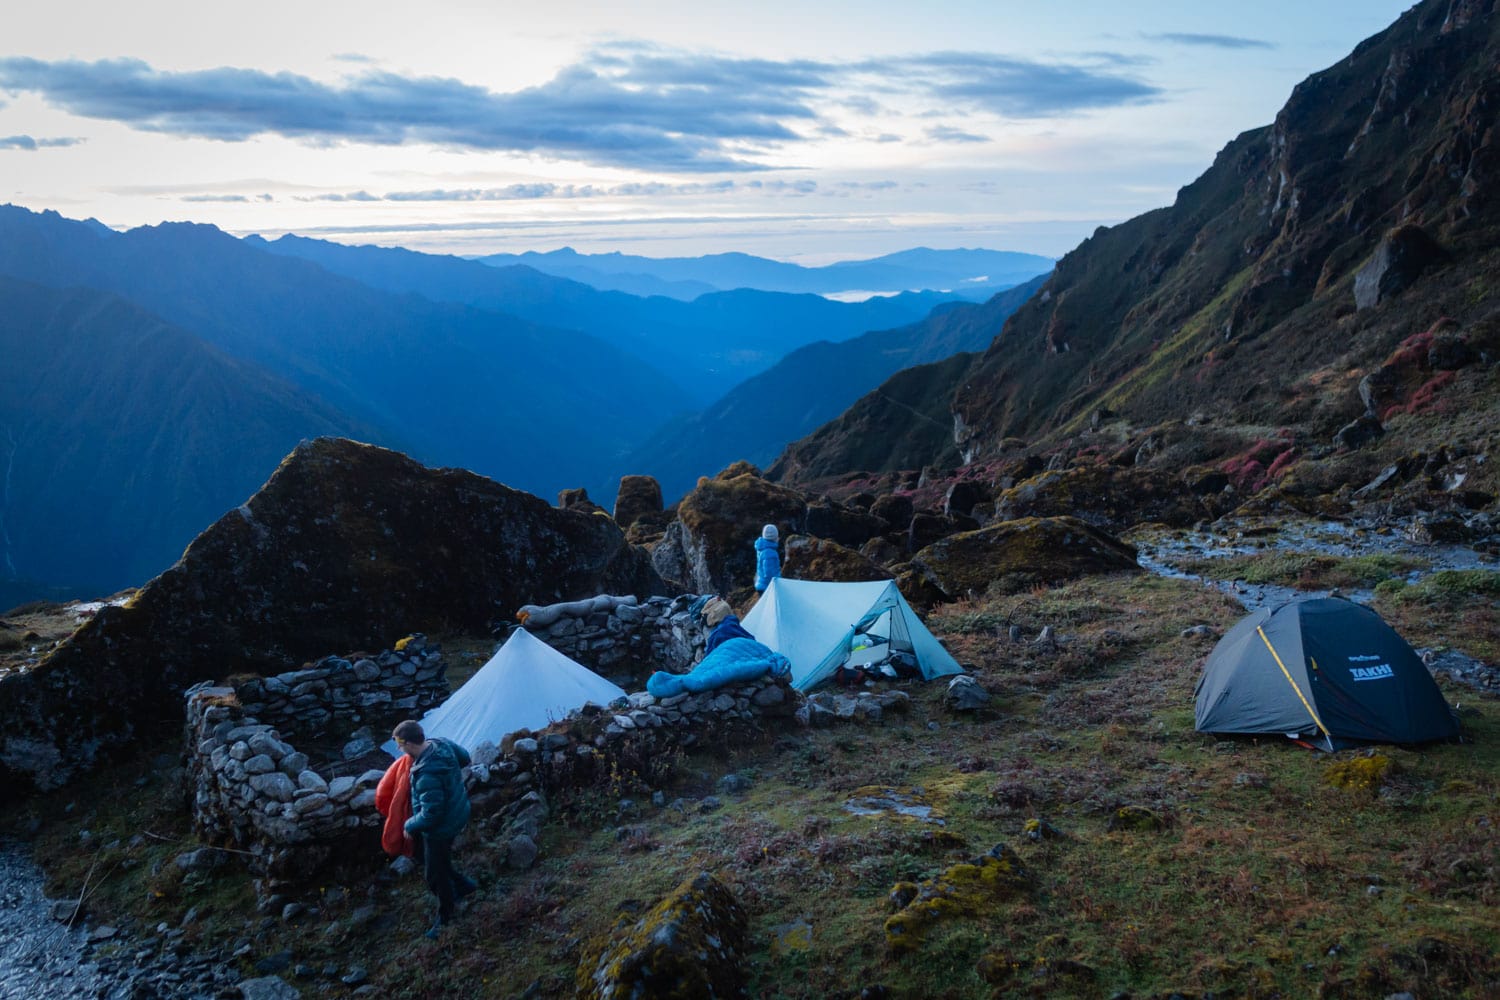
Our shelter for the trek was the MLD Duomid DCF, a pyramid tarp made from dyneema composite fabric. It’s ultralight but reasonably wind-resistant, and it was the right choice because you need some wind protection in the mountains, but carrying a heavy tent isn’t pleasant. If you have more porters, a sturdier tent might be an option. We didn’t encounter strong winds, but they can be prevalent in the area. Other tents in the group included another Duomid, X-Mid Pro 2, and a dome tent used by the guide and porter.
 At the last moment, I also got a 3F UL Gear inner tent for the tarp because we were concerned that leeches might be a problem with just a mosquito net and groundsheet. Even though we didn’t camp low enough for leeches, it was possible on the route, and leeches in your sleeping bag aren’t fun as you can imagine. So, protect yourself with an inner tent, or at the very least, a fully enclosed bivy.
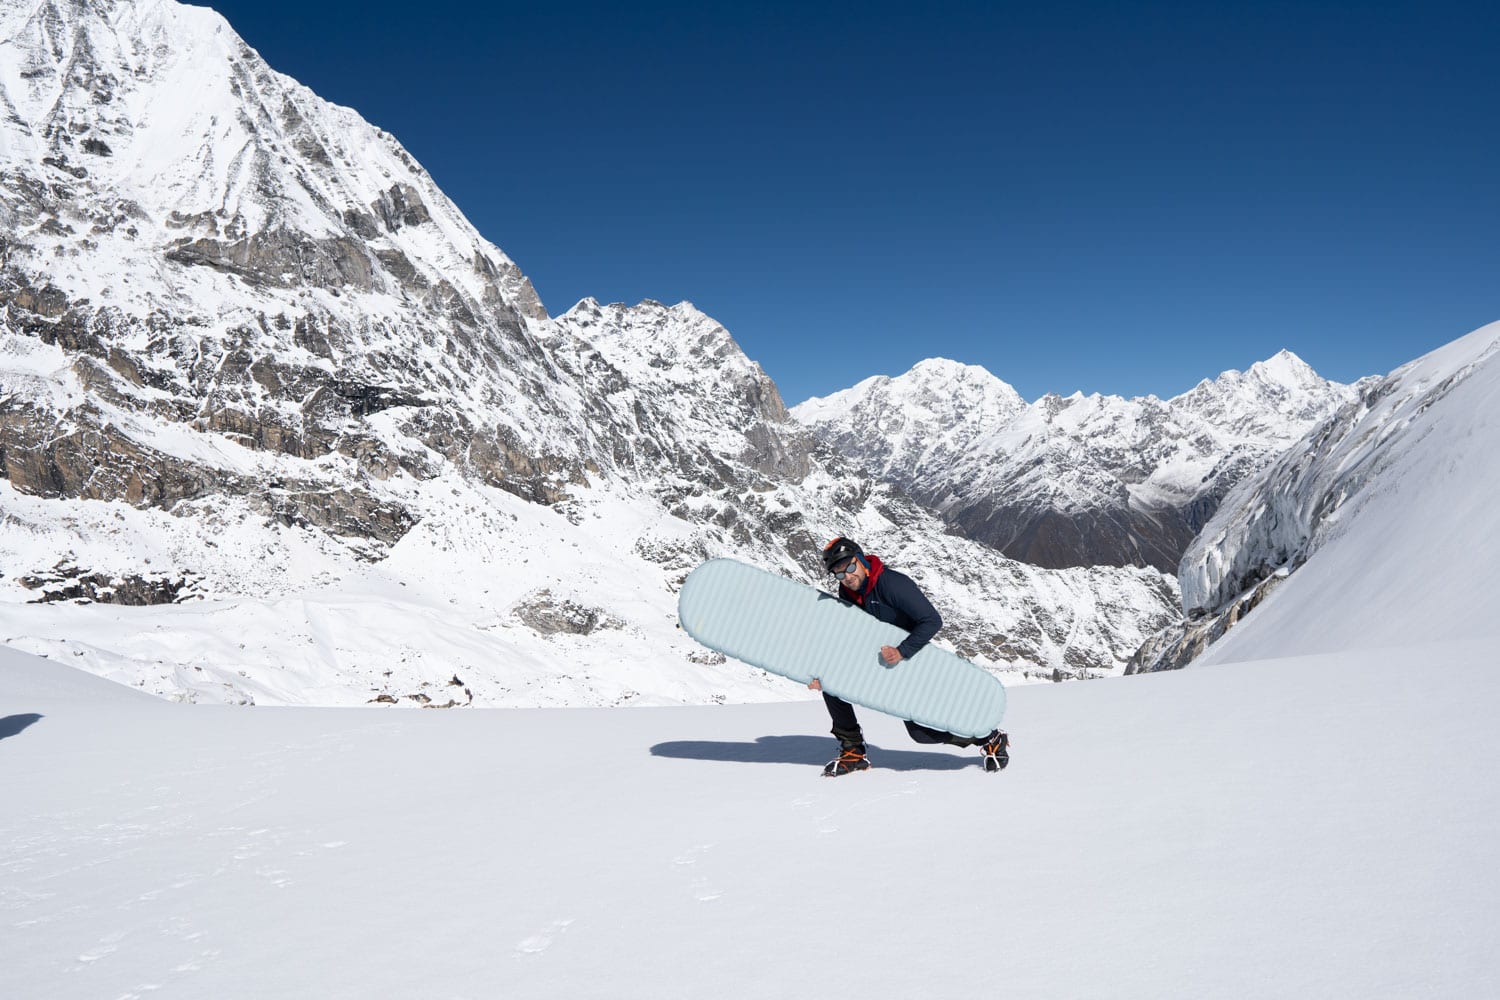
I used the Sea to Summit Spark SpIV sleeping bag, which, combined with the down jacket and pants, was quite warm. I didn’t even need to fully zip up the sleeping bag at the higher camp. My sleeping pad was the Therm-a-Rest Neoair XTherm NXT.
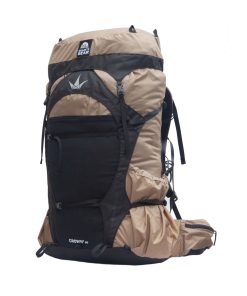
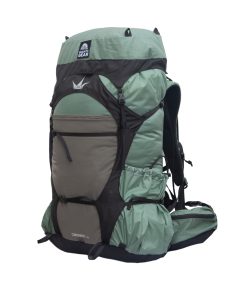
My backpack for the trip was once again my favorite backpack, the Granite Gear Crown 2. The backpack performed well and came through without damage despite a tumble on rocky terrain.
Technical Gear for the Route
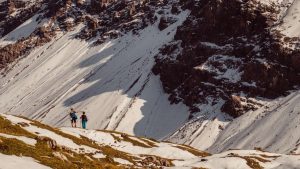
The need for climbing equipment on a mountain trek can vary. On this trip, we carried crampons, an ice axe, helmets, harnesses, slings and prusiks, a jumar, and a figure eight.
We primarily used crampons and helmets because there was a lot of snow on the pass. If the route had been mostly icy, we would have needed to use ropes and harnesses for safety. The crevasse formation on the glacier was relatively mild this year, so we managed to cross following the guide’s footsteps without needing ropes.
I decided not to take some of the technical climbing gear, such as ice screws and Z-pulleys, as the guide had the crevasse rescue sorted out. For a self-guided expedition, I would have also included gear for building a Z-pulley system and ice screws.
A helmet was highly necessary on this route due to the risk of rockslides. It’s advisable to invest in a lightweight helmet so that you don’t have to think twice about taking it with you.
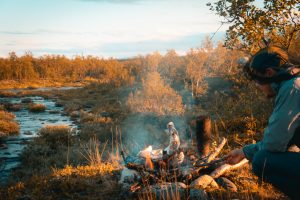
Keeping the Kitchen Simple
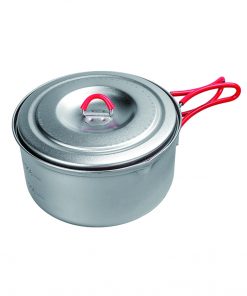
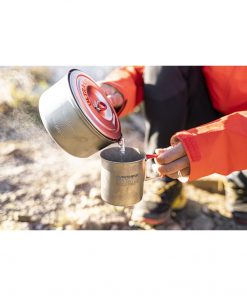
Our kitchen setup for this trek was kept simple and ultralight, as most of our meals were enjoyed in teahouses. There was no need to melt snow, and due to the altitude, the easiest option was to use tasty pre-made expedition food. We used an Evernew Ti UL Pot 900 ml as our cooking pot, and for the stove, we relied on the PocketRocket Deluxe due to its reliability.
When trekking in the mountains, keep in mind that a piezo igniter is unlikely to work at high altitudes. It didn’t work in the two PocketRocket Deluxes we had or the piezo lighter we carried. This is because of the reduced oxygen content at high altitudes. Fortunately, I was aware of this, and I also had a roll-up lighter with me. So, always carry a roll-up lighter or fire starter to light your stove in the mountains.
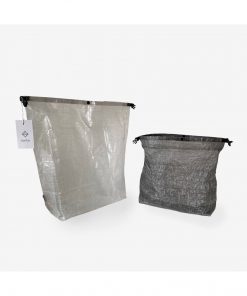
 My food was packed in a Bonfus food bag, which was very convenient due to its shape. Instead of using a spherical plastic bag, the food items fit perfectly into the square-shaped bag, saving space and effort.
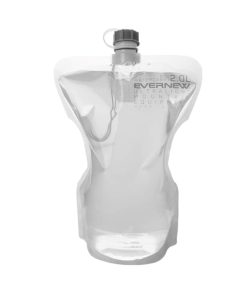
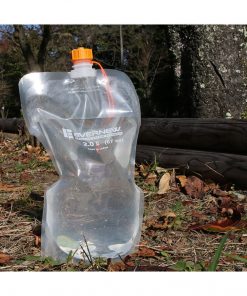
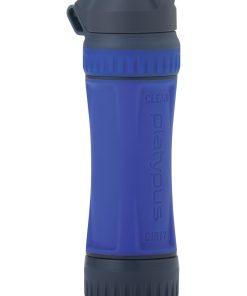
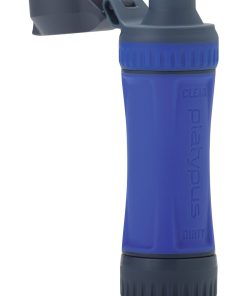
A water filter plays a crucial role in Nepal. Practically all water, even that from teahouses, needs to be filtered. I used a Platypus Quickdraw and an Evernew Water Carry 2L for water filtration. With this combination, water purification went smoothly.
I also had a wide-mouth bottle that could be used as a hot water bottle. It’s good to have some kind of hot water bottle in the mountains, and it turned out to be very necessary after a rainy day, shivering in the sleeping bag.
Electronics for Communication and Altitude Monitoring
We relied on Garmin and Nitecore equipment for electronics. The batteries were charged with an NB10000 power bank, which has been in use on my treks for two years now. I used a Nitecore NU25 UL headlamp, which was remarkably lightweight and charged seamlessly from the power bank. I also used the red light feature quite a bit.
For satellite communication, we used the Inreach Mini 2. This allowed us to send messages and share our location with our loved ones. I wore a Garmin Fenix 7 as a watch, which was particularly interesting for monitoring heart rate, altitude, and nighttime oxygen saturation at higher altitudes. Although wristwatch oxygen saturation measurements have been criticized, I found that the overnight measurements were quite indicative.
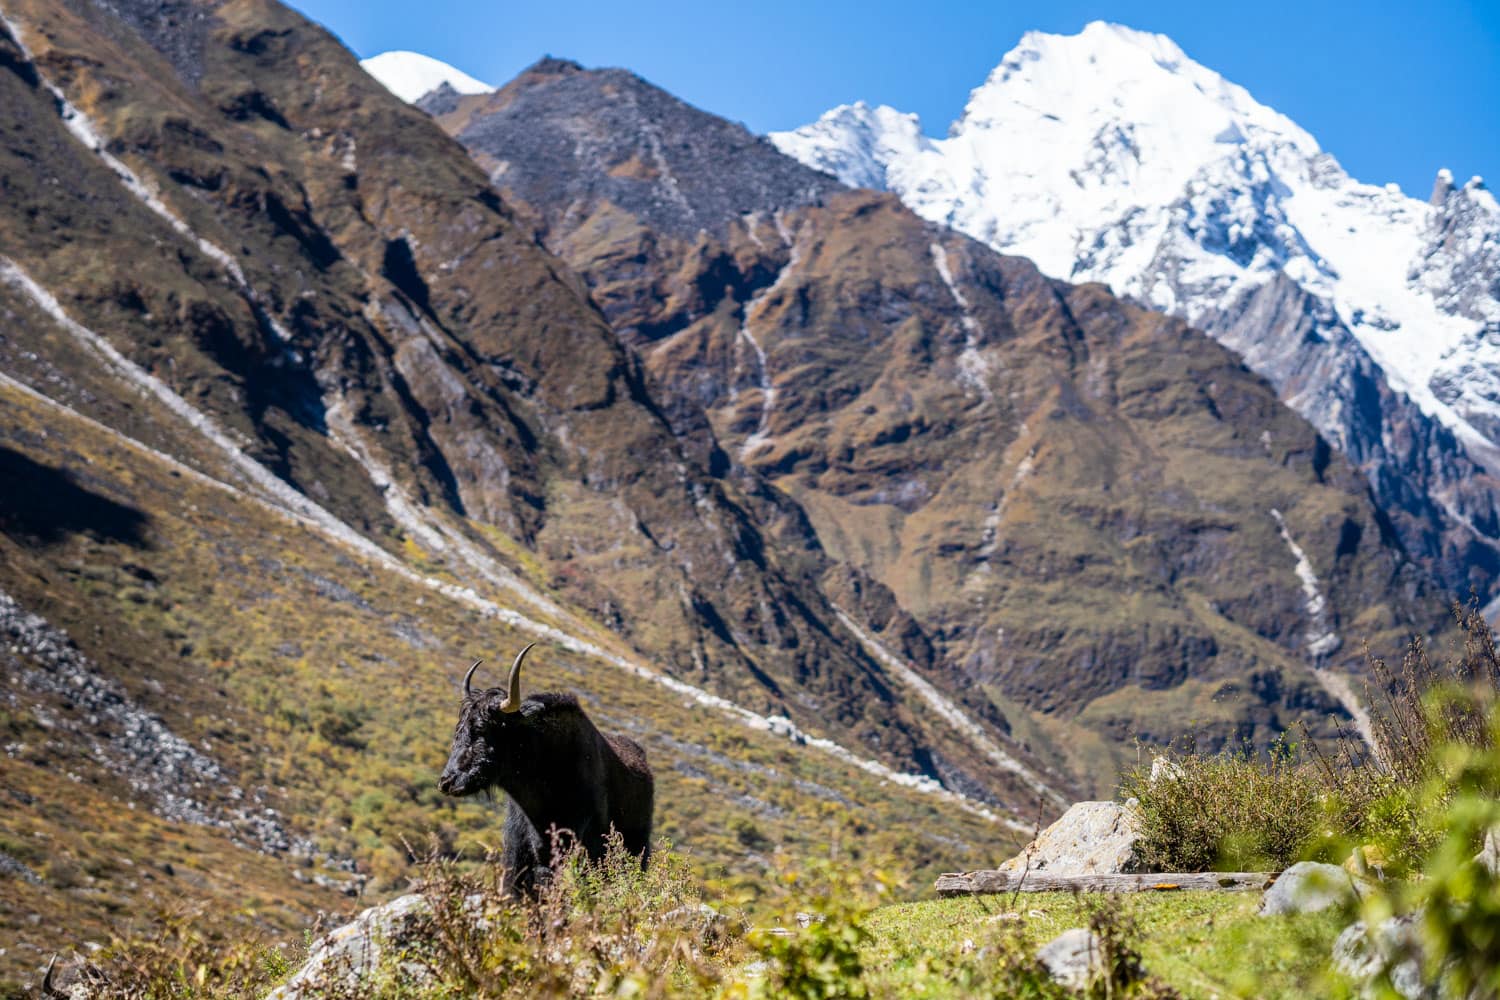
Hygiene Essentials
Maintaining hand hygiene is important while trekking in Nepal because there are yak and cow dung everywhere. Moreover, after using squat toilets, it’s important to wash hands with soap. Sea to Summit Wilderness Wash worked well as a hand soap, and it also doubled as a body wash and hair shampoo when we reached a mountain village with shower facilities. The soap was packed in Farlite Hiker’s Mini Bottles to save weight.
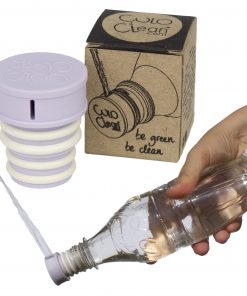
 For outdoor bathroom activities, I carried a BoglerCo trowel and a CuloClean backcountry bidet. These are lightweight enough that they practically go with me on every trip.
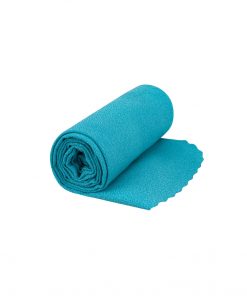
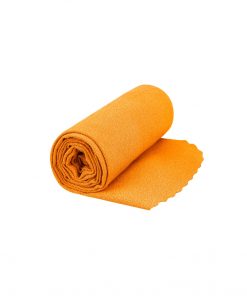
A towel was also an important piece of equipment because no guesthouses had towels available, even though there was a (cold) bathing option available. The Sea to Summit Airlite Towel M was the right size for this kind of trip.
Sunscreen is, of course, a very important item in the mountains. I’ve been using small sunscreen sticks for years. They are easy to apply without getting your hands dirty, and you don’t have to worry about the sunscreen leaking.
In addition to basic first aid supplies, the first aid kit was supplemented with antibiotics and medications for mountain illnesses purchased in Kathmandu. When trekking in the remote wilderness of Nepal, you are quite far from the nearest doctor, and the risk of issues like skin infections, severe diarrhea, or giardia is real. I also had the excellent book “Medicine for the Outdoors” downloaded on my phone (the offline version is free when you buy the book).
Final Thoughts
Mountain trekking gear varies quite a bit depending on the destination. Most of the trekking routes in Nepal don’t require climbing equipment, tents, or other accommodation gear.
Thus it is important to consider that this gear list may not be the best choice if you are heading to destinations like the Annapurna Circuit or Everest Base Camp.
On the other hand, more gear may be needed for activities like glacier travel or protecting a climber. Weather conditions can also vary, and you might need a winter tent and a stove for melting snow.
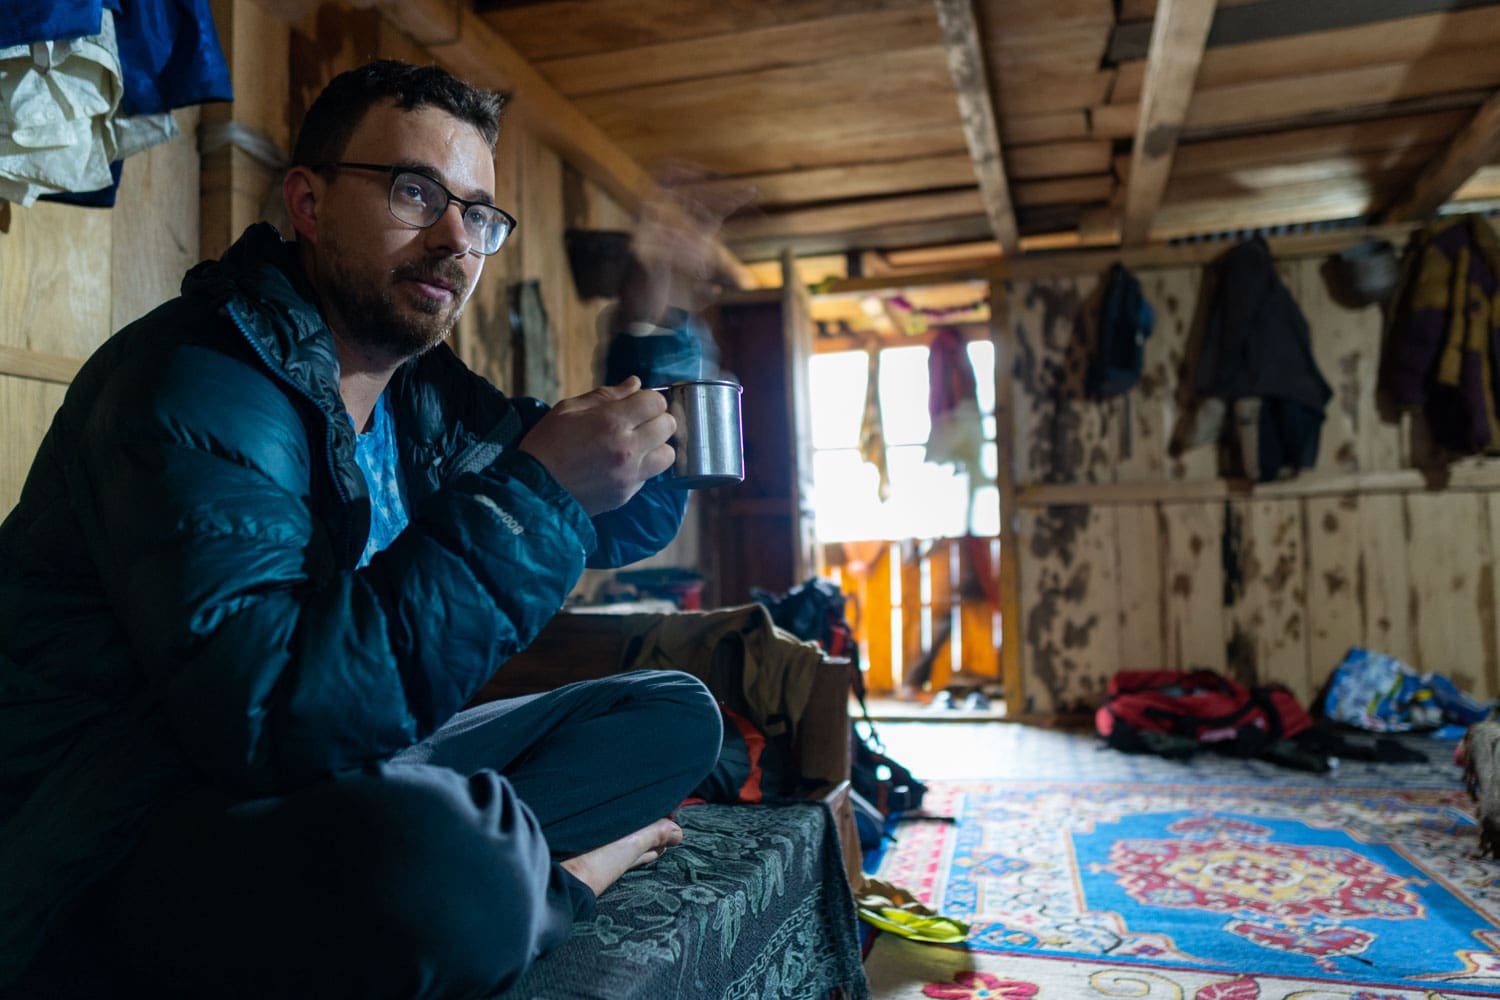
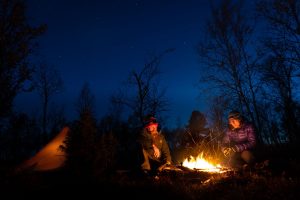
Experiencing life in Nepali villages is a significant part of a trek like this. Even if you’re not in it for the culture, the teahouse stay and food are vital for keeping your body and mind fresh for the trek.
The food in the teahouses was pretty simple, mainly consisting of rice and lentils. If you’re not into dal bhat, you can get instant noodles, eggs, or even mars bars in some villages. Still, I’d recommend trying the local food. There’s nothing wrong with the dal bhat, and it’s quite good in most places. The staff does an amazing job at making sure you have all the energy you need for the next day.
Overall, you’ll be able to enjoy the unique experience of staying in local teahouses, sharing stories, and having a warm cup of tea at the end of each day.
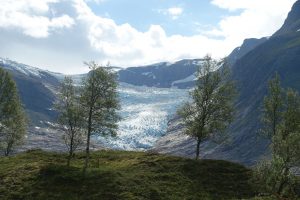
The Tilman Pass trek is a challenging, off-the-beaten-path adventure in Nepal, offering breathtaking mountain views and a taste of traditional Nepali village life. It’s an excellent choice for experienced trekkers looking for a remote and demanding journey. With the right gear, fitness level, and sense of adventure, this trek can be a rewarding and unforgettable experience.
Products mentioned in the article
Pants
Accessories
Knives
Headlamps & Power Banks
Headlamps & Power Banks

Backpacks and carry

Backpacks and carry

Backcountry hygiene
Backcountry hygiene

Backcountry hygiene
Backcountry hygiene
Backcountry hygiene
Bottles and containers
Water treatment
Dry bags and Pack liners
Cookware
Utensils


Garment care
GHT Gear List: Tilman Pass (5300m)
In late September-October 2023, we hiked a section of the Great Himalaya Trail from Last [...]
Nov
Farlite gift guide 2023
Christmas is coming! But what is the best gift for a hiker who has everything? [...]
Dec
Lapland hiking guide – ultralight backpacking in the Nordics 2024
Dreaming of hiking in Lapland? Read our free guide on ultralight backpacking in the Nordics.
Sep
Farlite Ultralight Gear Guide
Are you interested in lowering the weight of your pack for the next hike, but [...]
May
Sustainability
Did you know that the manufacturing of lighter weight outdoor equipment consumes less natural resources [...]
Feb
Ultralight 101
Lowering your pack weight makes sense. You can hike longer or make your short hike [...]
Dec
What is ultralight backpacking?
In ultralight backpacking, bigger attention is paid to gear weight. Traditional way of thinking is [...]
Dec